


Make Google Account super secure by using passkeys.
Table of Contents
If you’re been keeping up with tech news, you might have heard that passkeys are now available to help you protect your Google Account. Passkeys are considered a safer option than passwords, but how do they work, and how can you use them to keep you accounts safe? This guide is here you to help with that.
Passwords can be not very secure because people often choose something easy to guessing, like “passwords123” or they use the same passwords on many websites. This means if one account is hacked, other could be at risk too. On the other hand, passkeys use your unique biometric data, such as your fingerprint or portrait, to secure your logins, making it much harder for someone to get around.
For instance, since there’s no passwords to steal, phishing attempts become useless. You also don’t need to remember a complicated password, reducing the risk of compromising your security. And don’t worry about a complicated process to create your first google passkey. Google has made it simple to get stated just follow the steps below to secure your Google account in a few minutes.
Requirement to Creat Passkeys
- A Google account
- A biometric data reader, such as a fingerprint scanner or facial recognition camera, as part of your device
- On a desktop computer, Windows 10, macOS Ventura, or ChromeOS 109 or later
- On a phone, iOS 16 or Android 9 or later
- A supported web browser, such as Chrome, Safari or Edge
Quick Steps
- Go to your Google account settings and click security > Passkeys> Create a passkey
- Enter your biometric data using a fingerprint reader or a facial recognition camera and your passkey should be created
- You can now log in with your passkey instead of a password
Quick Steps to Creat Passkey
1. Create a passkey
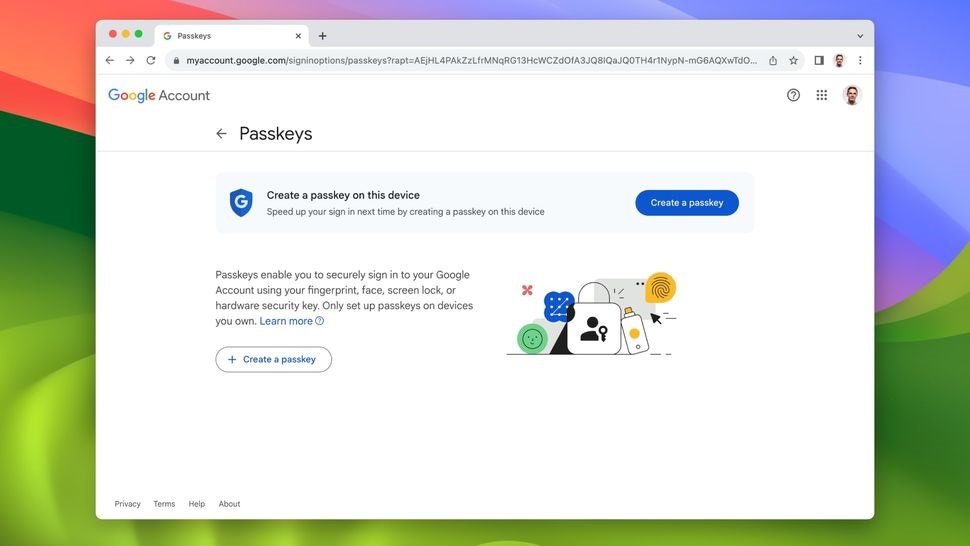
To start, sign in to your Google account and go to your account settings. On the left side, click on Security. Scroll down to the section about how you sign in to Google, and then select Passkeys.
Next, click on the option to create a passkey.
Your web browser might ask for permission to access your system’s passkeys. If it does, just follow the instructions on the screen to allow this.
Now, decide if you want your device or your browser to save the passkey.
Once you’re made your choice, a message will pop up, asking you to enter your biometric data.
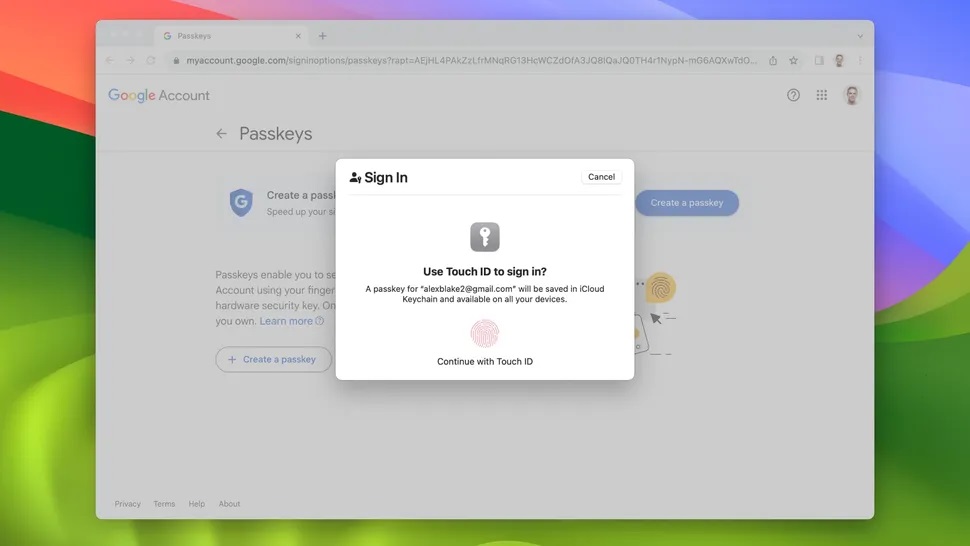
On a MacBook, it will ask you to use Touch ID for your fingerprint. On a iPhone or Android device, it might request Face ID or Android facial recognition.
Just use your fingerprint reader or facial recognition camera, and your passkey will be made. If it works, you’ll see a pop-up window saying “Passkey created.”
Form now on, when you log in to your Google account, the default choice will be to use a passkey instead of a password.
To check all the passkey you’ve made, go to Security > Passkey in your Google account settings. There, you can name each passkey or delete them if you want.
Remove passkeys as the default log-in method
Passkeys are definitely safer than passwords, but for some reason, you might still prefer using a password as your main way to sign in.
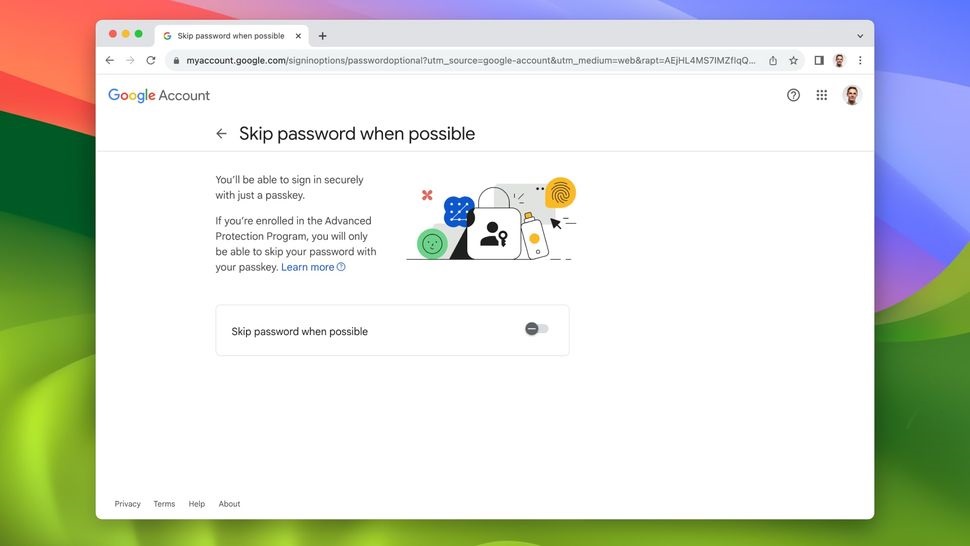
If that’s the case, go to your Google account settings page and select Security on the left side.
Scroll down until you find “Skip password when possible.” Click on it, and on the next page, turn off the switch.
Thoughts: On creating Passkeys
Passkeys are a safer way to log into your Google account than using a password, and settings them up is fast and simple. There’s usually no good reason to turn them off because they save you from remembering lots of complicated passwords and prevent the risk of using the same password repeatedly.
Many websites are adopting passkeys, and eventually, they might replace passwords altogether. Hopefully this will make your accounts and login more secure in the future.